How It Started
This project started when friends of ours reached out about building a custom built-in wall for their family room. They wanted a combination of lower cabinetry and upper bookshelves that would add storage and organization while still feeling clean, warm, and integrated into the house.
During the initial walkthrough, we talked through their vision, looked over inspiration photos, discussed functionality, and started narrowing down the overall direction for the project. A big part of custom work like this is collaboration, taking the ideas and aesthetic the client already has in their head and translating it into something that works structurally, visually, and practically within the actual space.
From there, I took detailed field measurements and notes to begin designing the layout. That included wall dimensions, ceiling and floor variations, trim details, outlet locations, and spacing requirements for the cabinetry and shelving.
Design
One of the biggest goals with this project was making the built-ins feel substantial without making the room feel crowded or overly heavy. The lower cabinets needed enough depth and storage to be genuinely useful for everyday family life, while the upper shelving needed to keep the wall visually open instead of turning into one giant block of cabinetry.
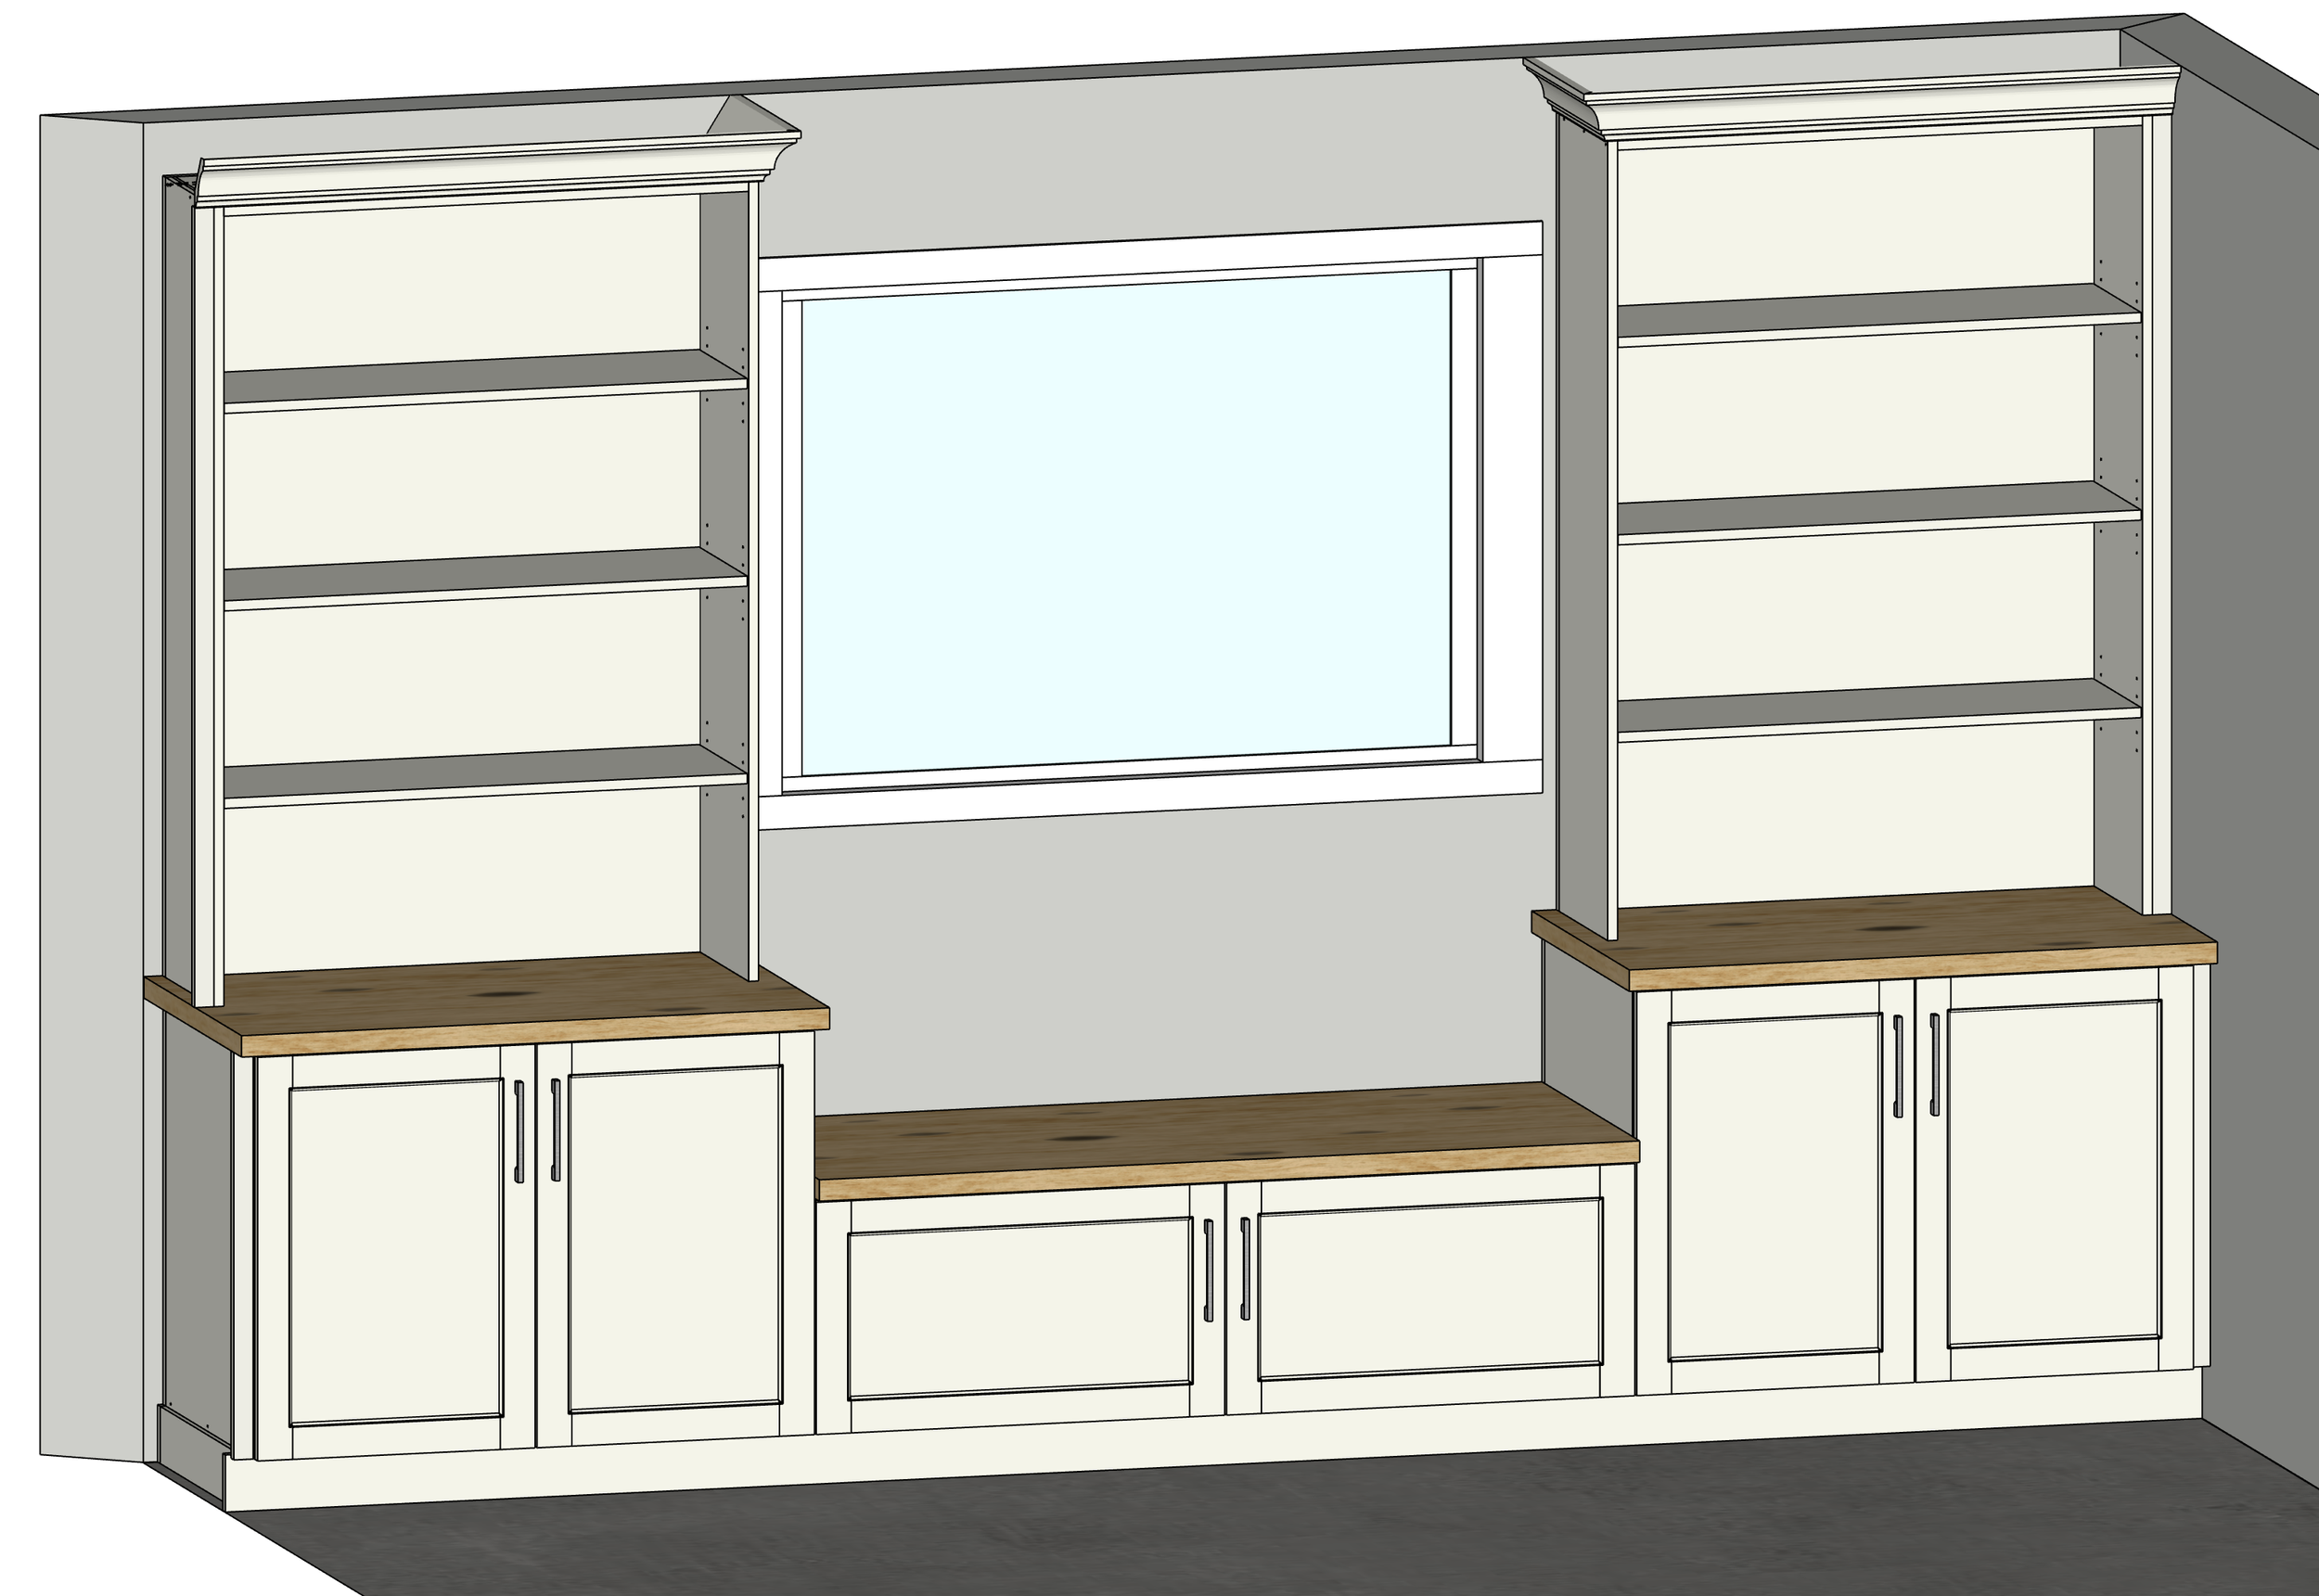
The final design combined:
Large lower cabinets for concealed storage
Open upper shelving for books and décor
Butcher block countertops to break up the painted cabinetry and add warmth
Matte black hardware for contrast
Crown detail to add proportion and balance
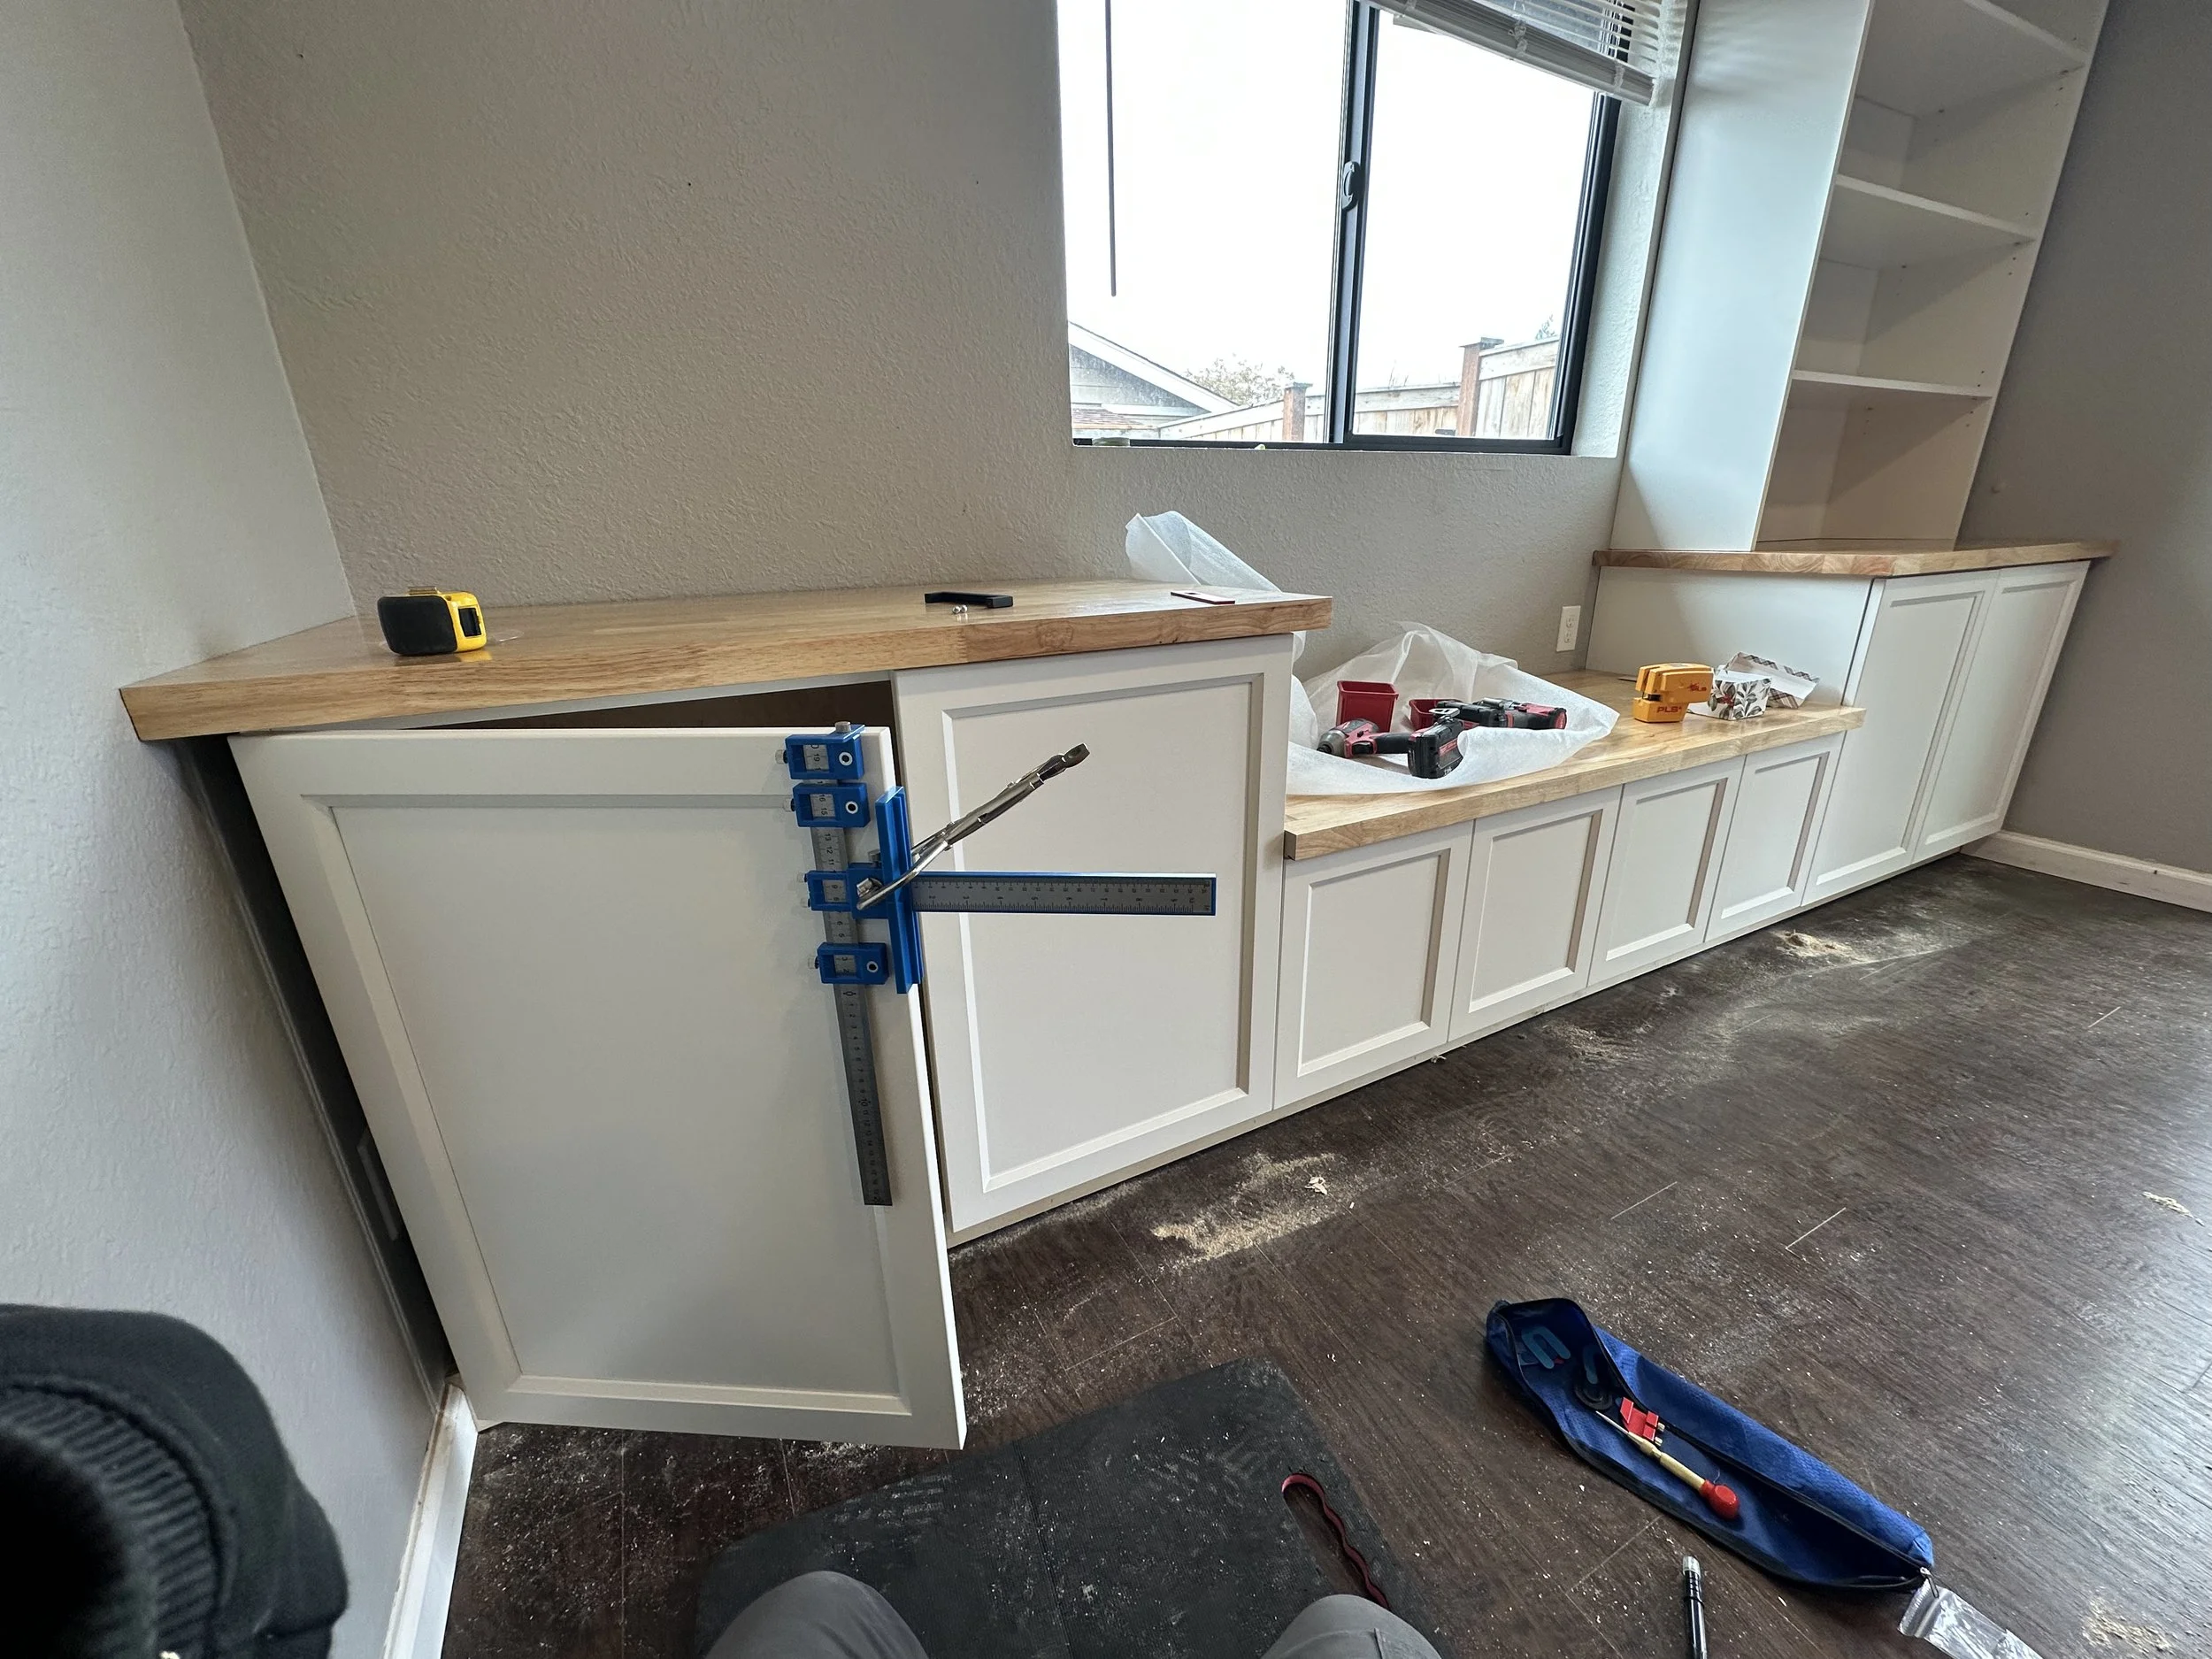
One design change that ended up making a big difference was the center lower cabinet layout. The original concept (Shown in picture) used two oversized doors, but after talking through the design with a good friend and mentor in the cabinet world, he brought up a great point about long-term hinge stress and usability on doors that large.
We ended up redesigning that section into a four-door layout instead. Changes like that might seem small on paper, but they make a huge difference over time in durability, alignment, and how the cabinets actually feel to use day-to-day.
That’s one thing I really value about custom work and the trades in general. Good projects are rarely built in isolation. A lot of the quality comes from sharing knowledge, learning from people with experience, and being willing to adjust when there’s a better way to do something.
The Build Process
Once the design and layout were finalized, the project moved into fabrication.
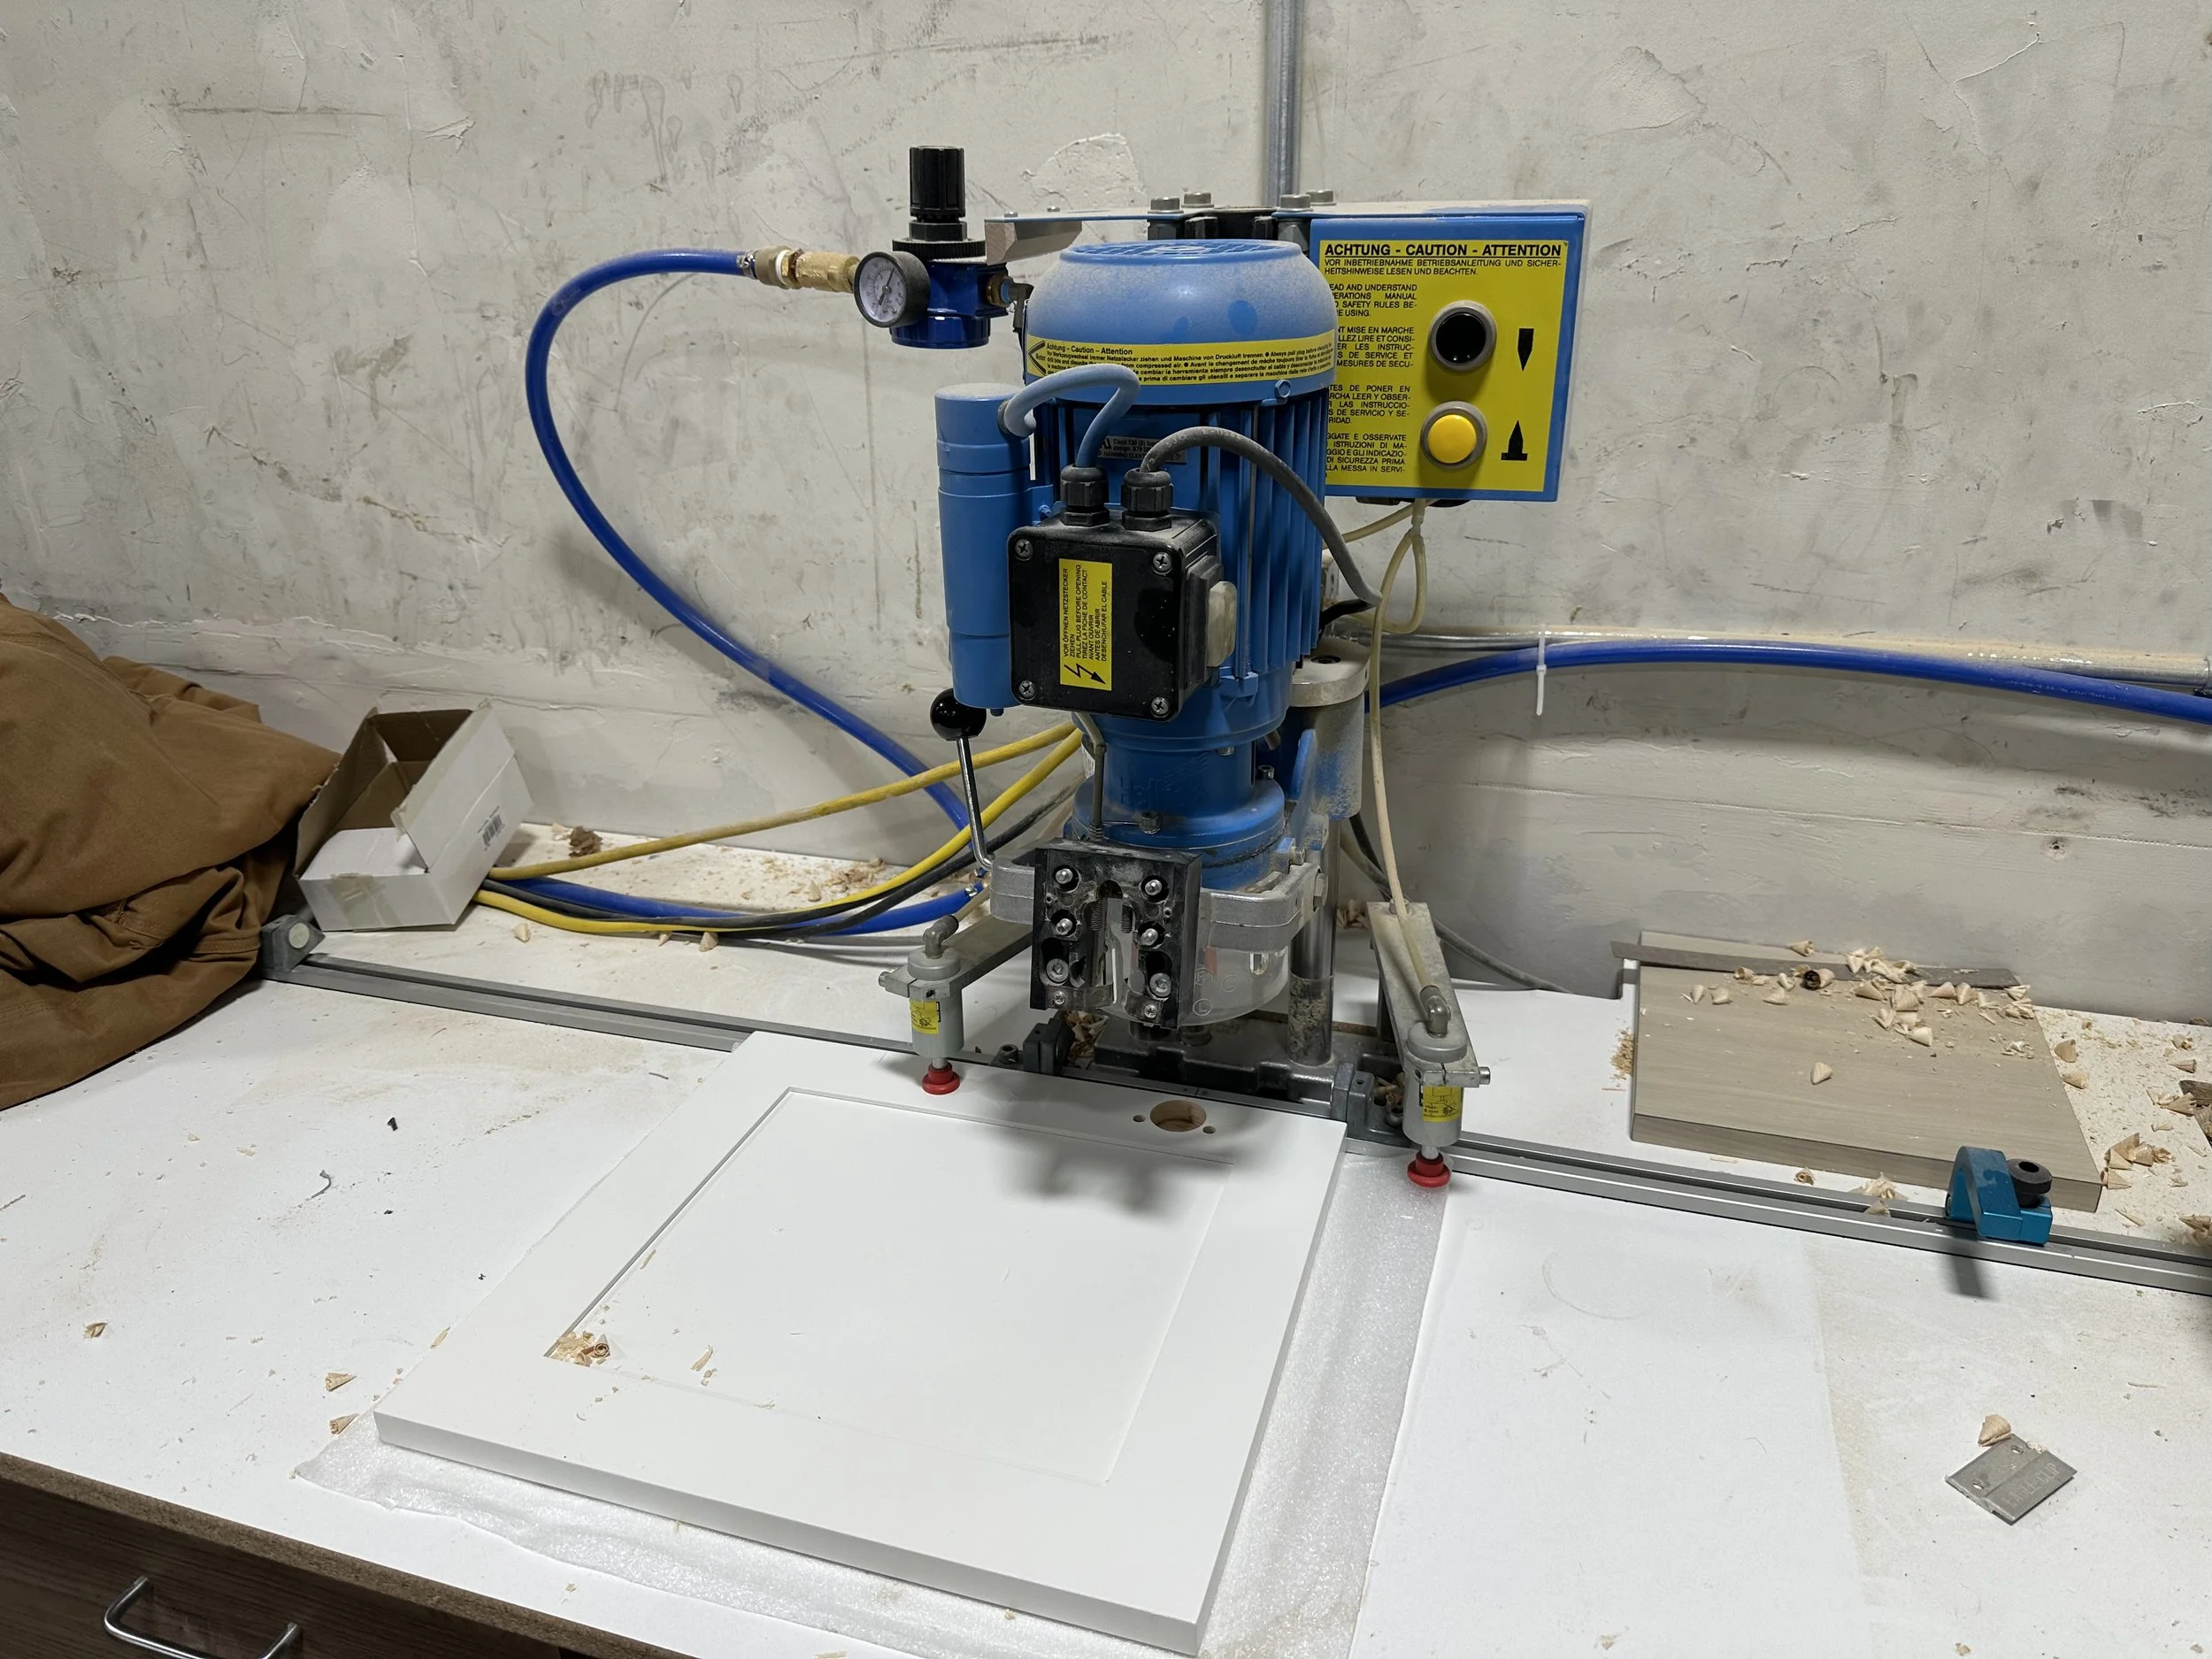
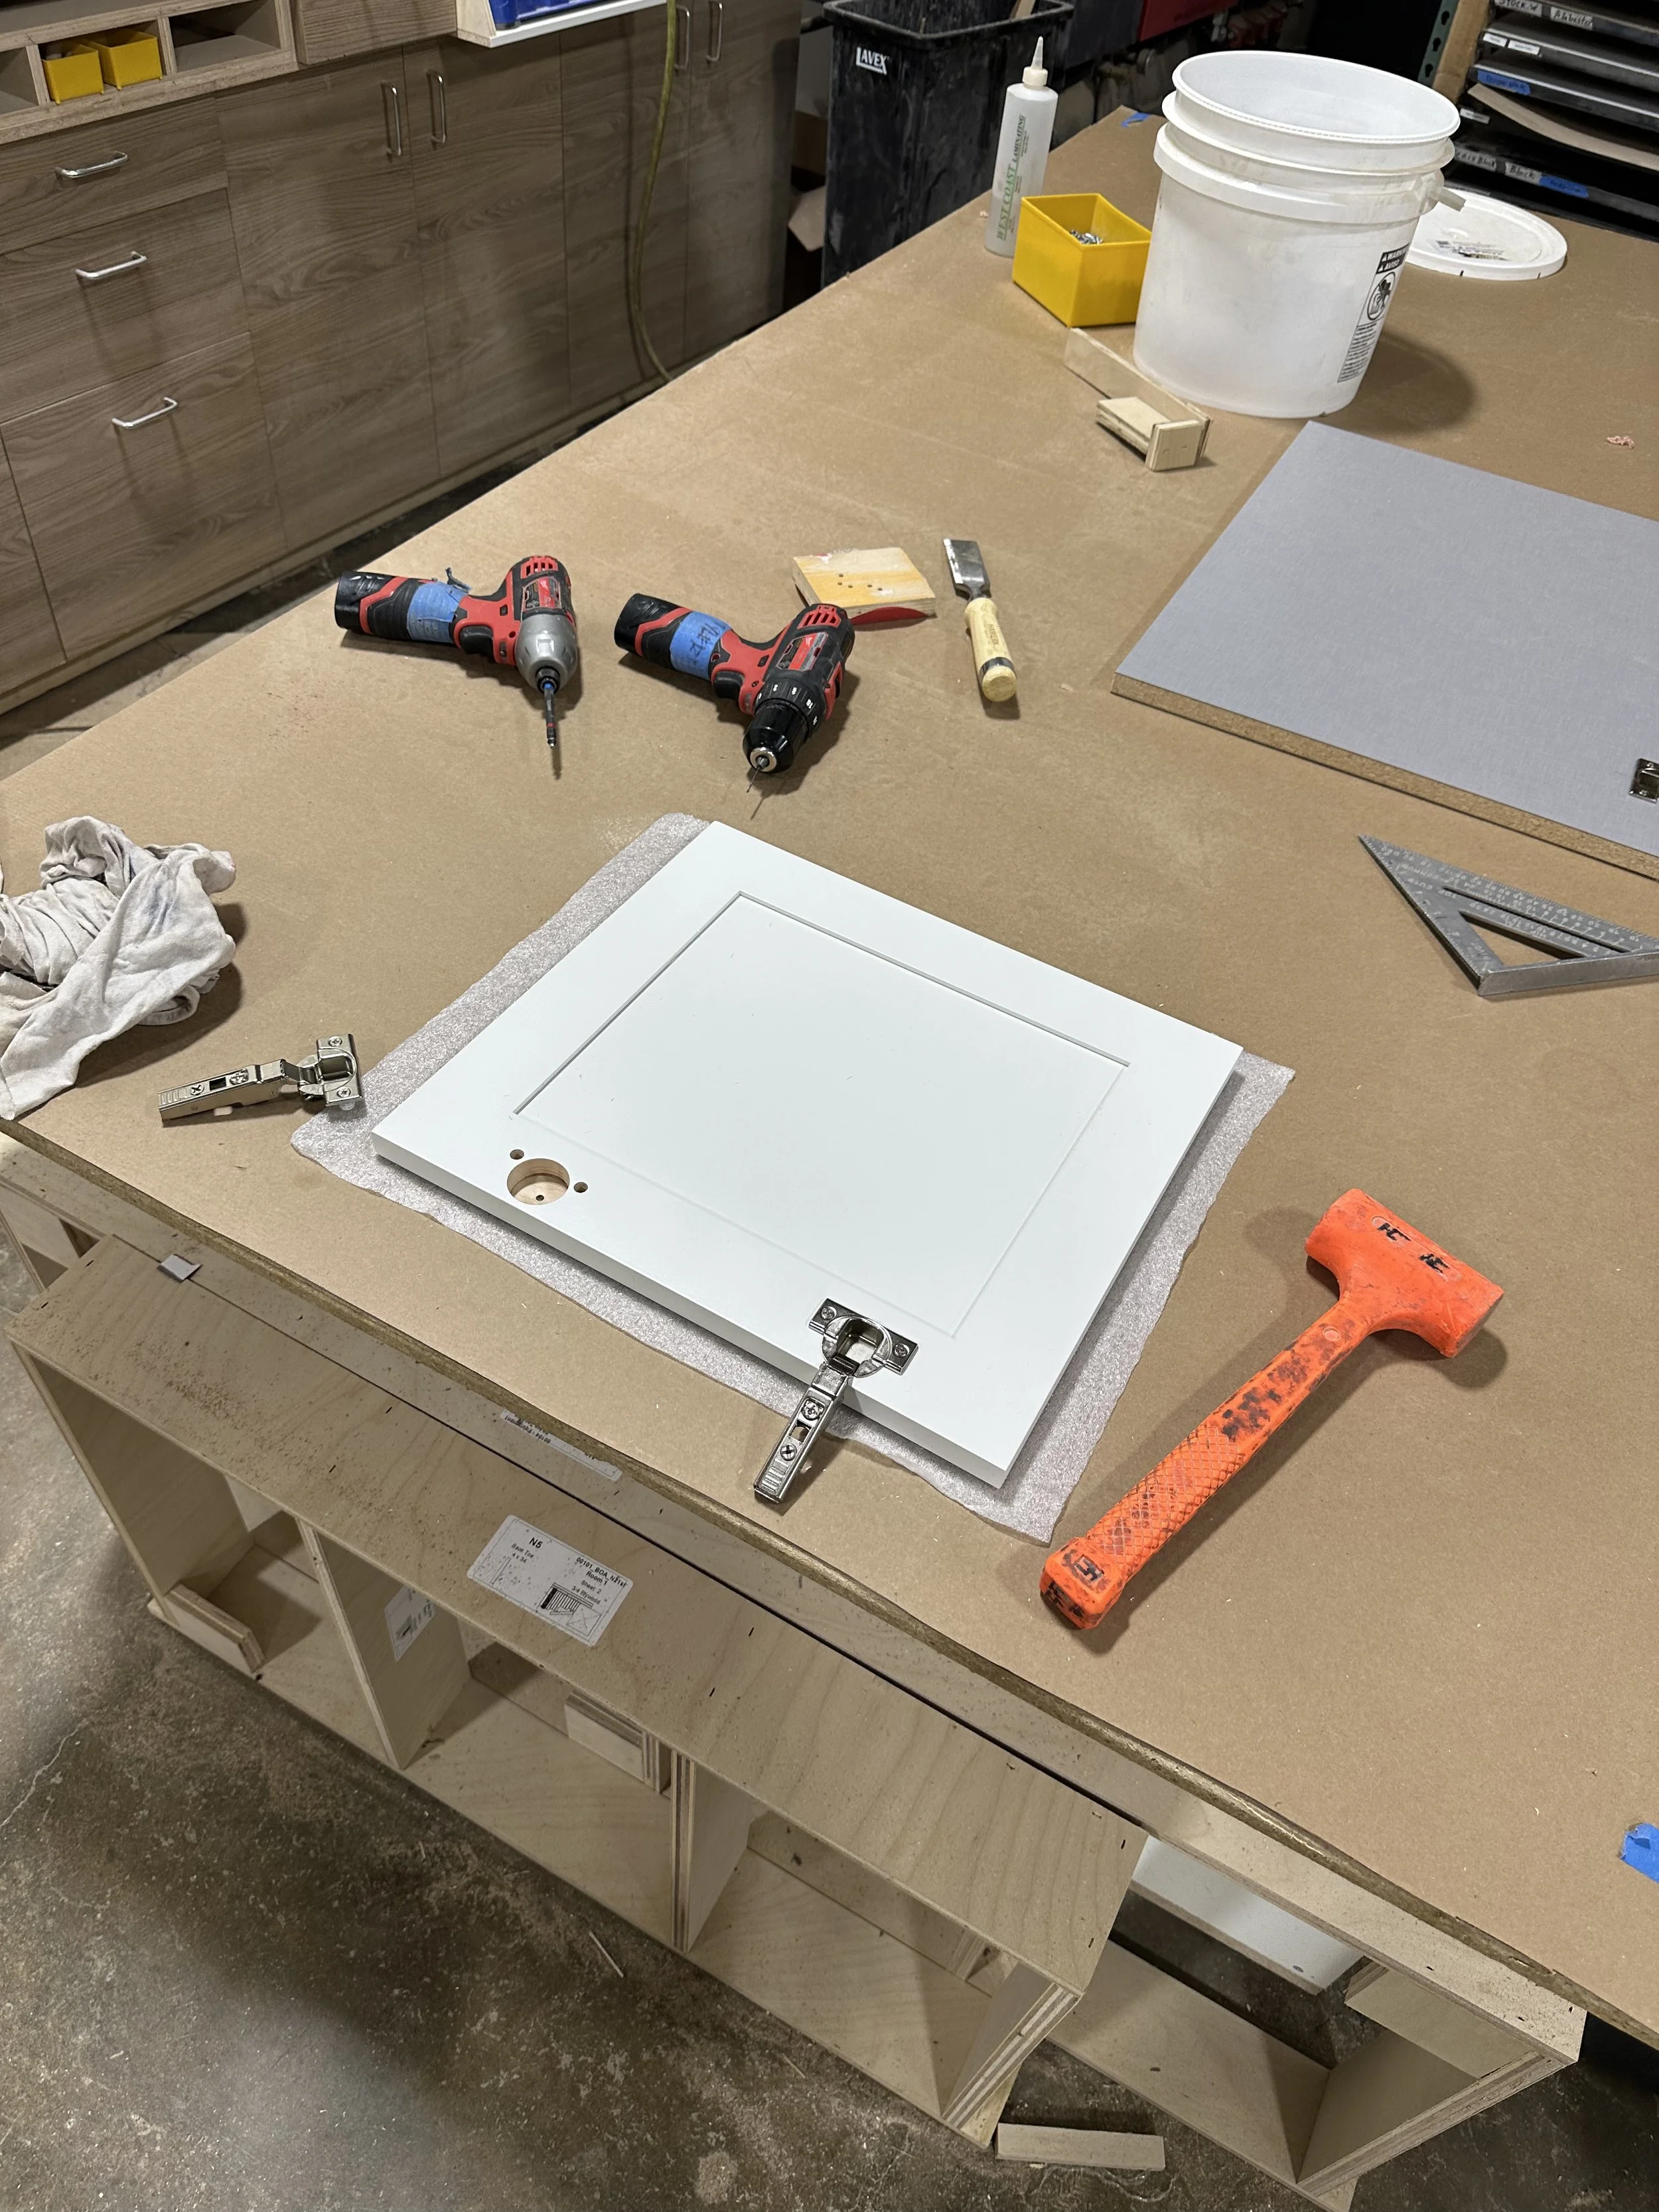
The cabinet components were CNC-cut for precision and consistency, allowing every panel, shelf, divider, and face component to be produced accurately and repeatably before assembly even began. From there, everything was assembled by hand piece by piece.
Once fabrication was complete, the cabinetry was prepped for finish. Every surface was cleaned, filled, sanded, and refined before moving into professional spray finishing. The final finish was done in Sherwin-Williams Alabaster, creating a durable furniture-grade surface with a smooth, consistent appearance throughout the entire project.
After finishing, all of the components were carefully wrapped, protected, and prepared for delivery and installation. Protecting every piece during transport is a major part of the process, especially with finished panels, long cabinet sections, and detailed trim components that all need to arrive perfectly clean and damage-free for final assembly on site.
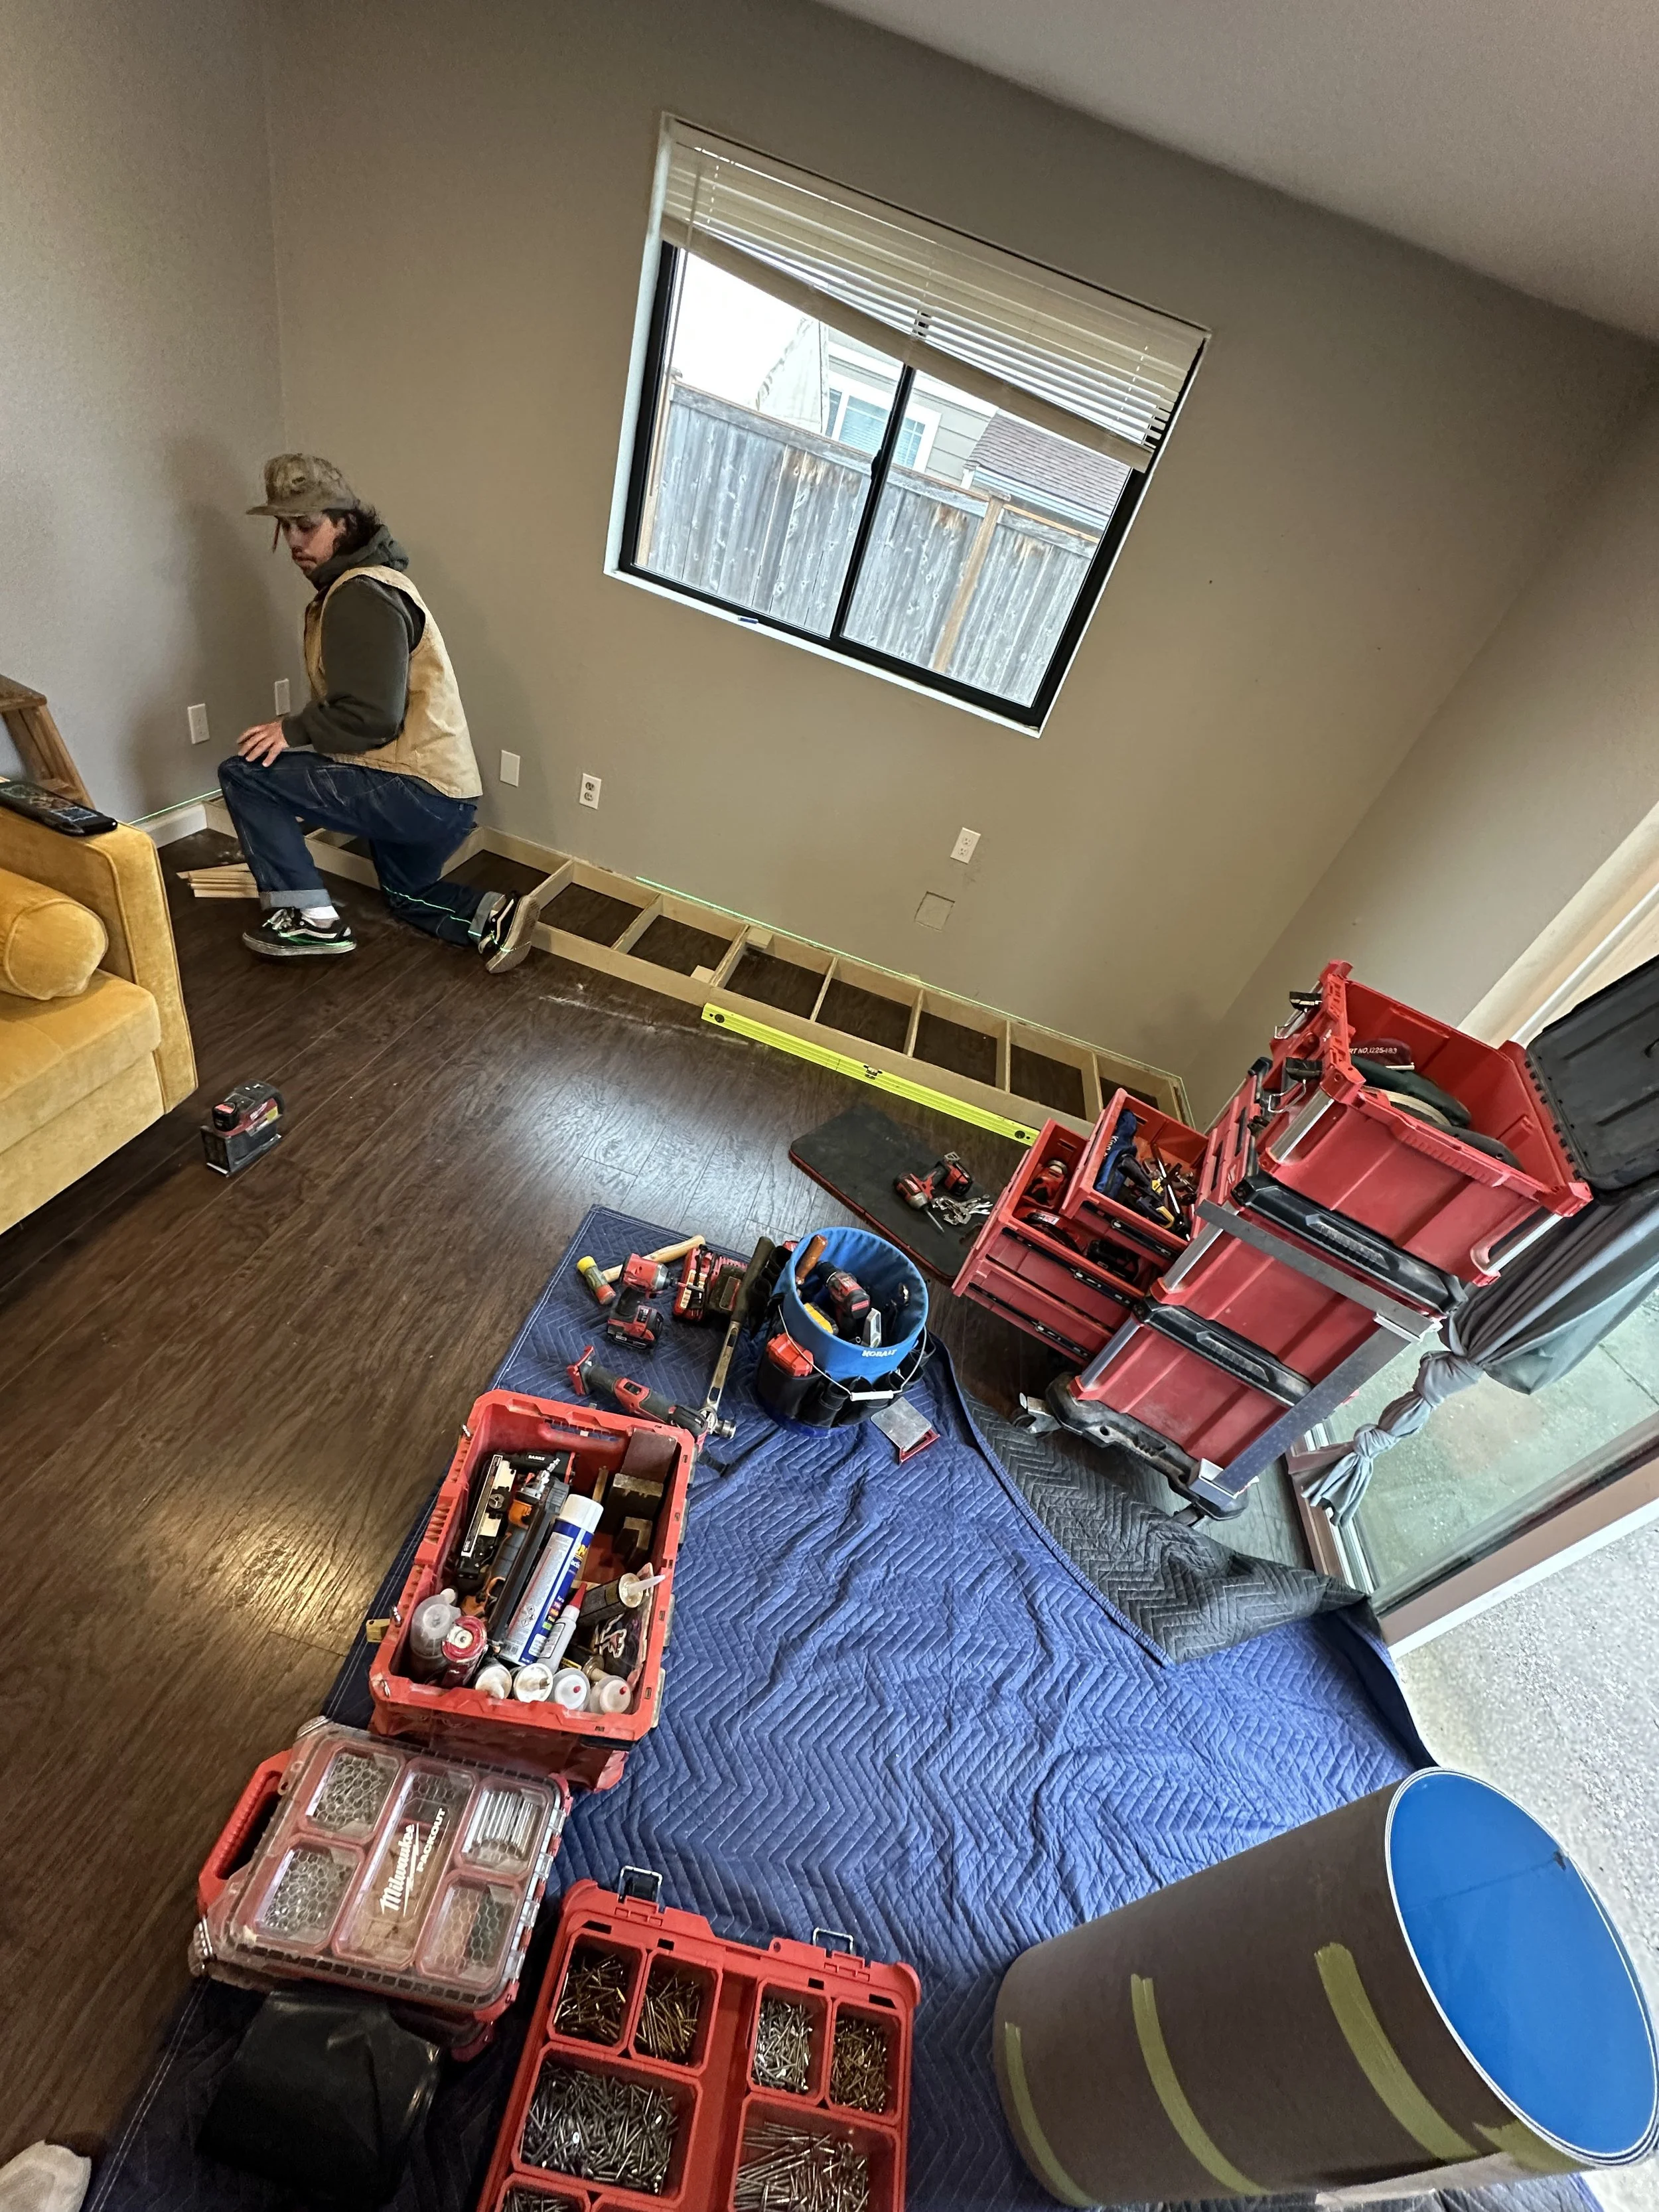
Installation
Installation is where all of the planning, fabrication, and finish work finally comes together.
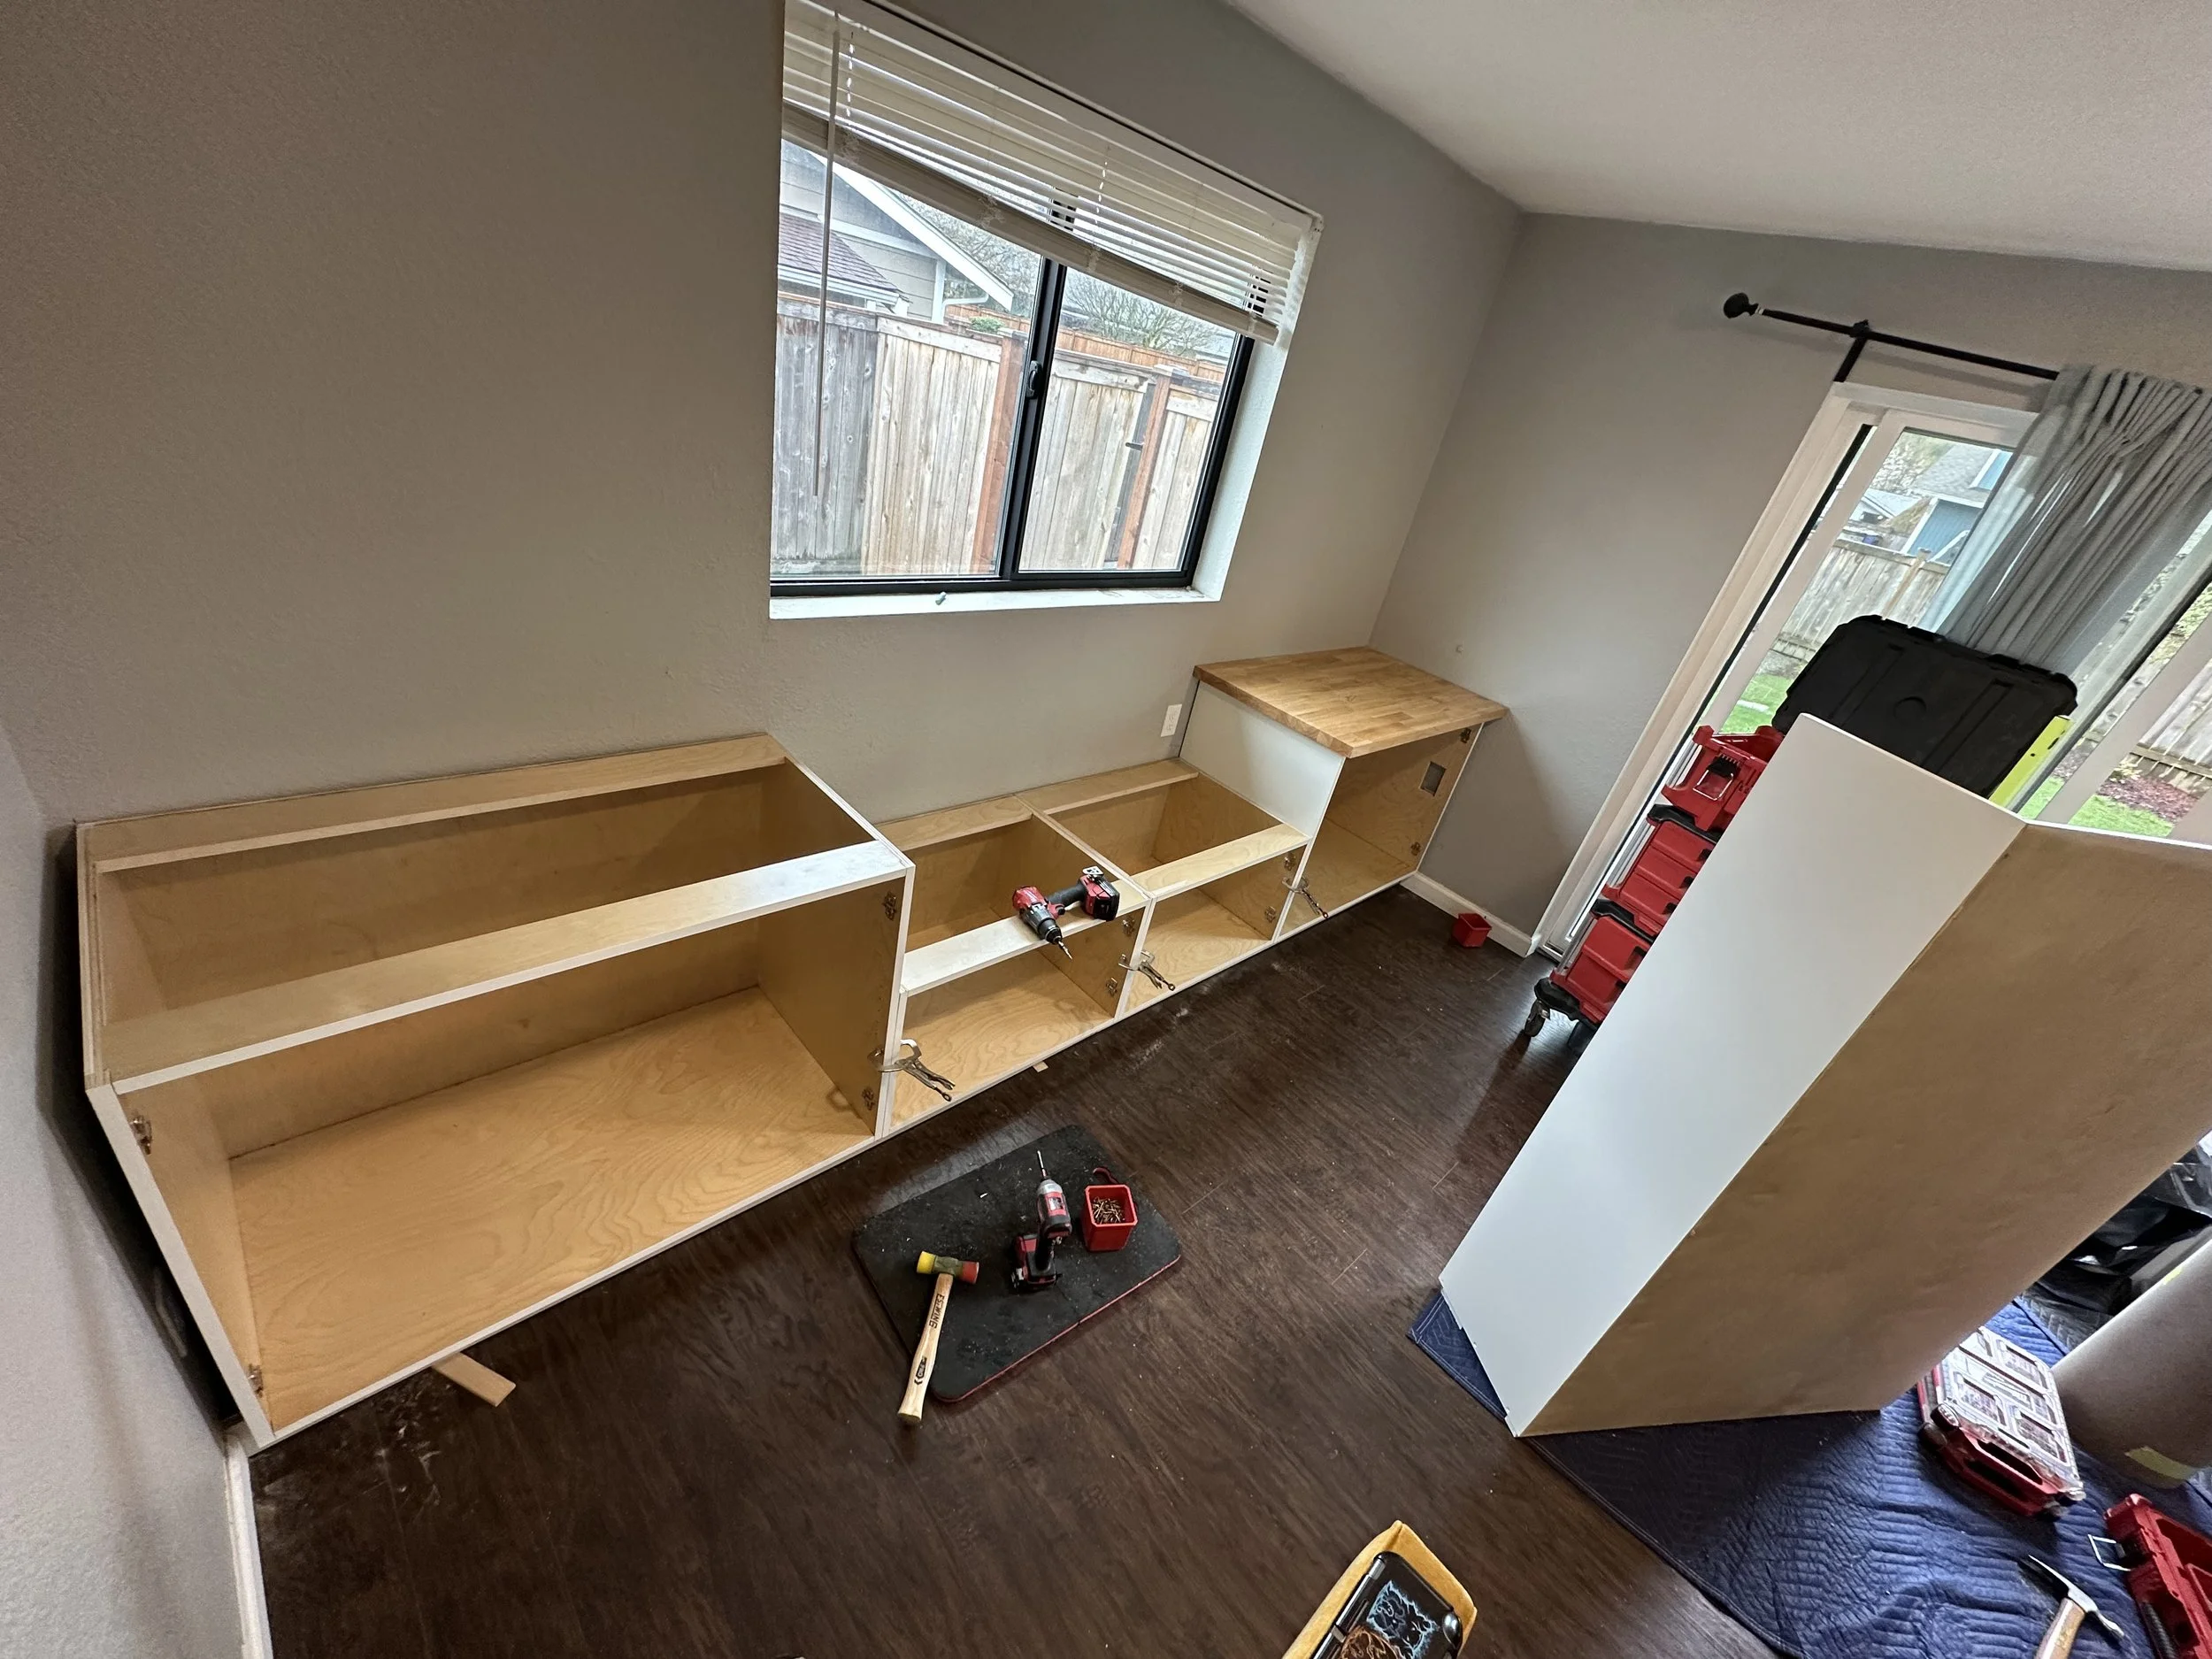
Because built-ins are designed specifically for one room, the install process is a combination of precision cabinetry work and on-site problem solving. Very few walls, floors, or ceilings are perfectly straight, so even with extremely accurate measurements, every section still needs to be carefully fit and adjusted during installation.
The project was installed in multiple sections to make transportation, fitment, and alignment more manageable. Each cabinet run was leveled, shimmed, secured, and tied together before trim details, shelving, and countertops were finalized.
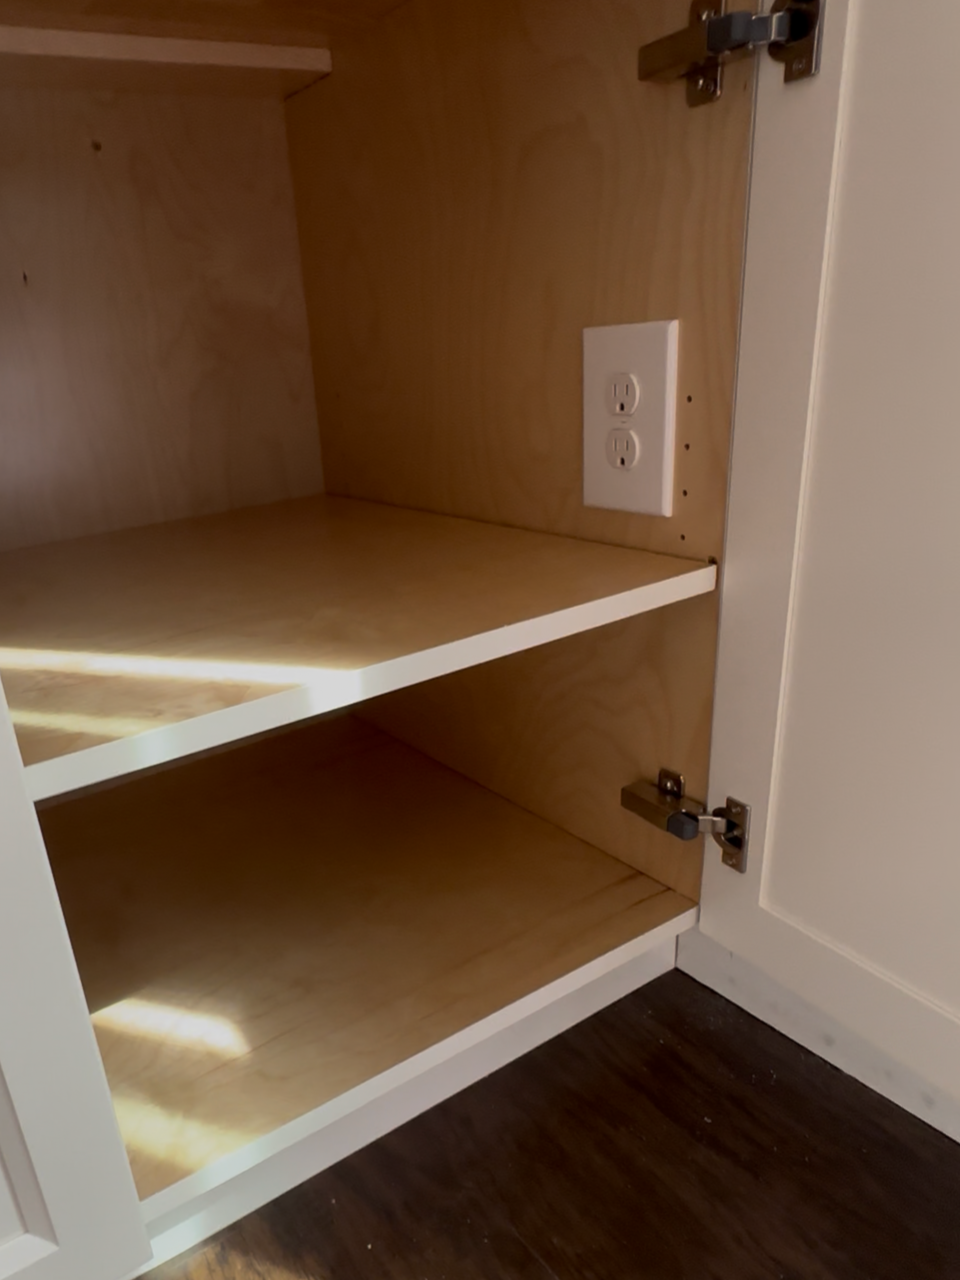
One important part of the install was integrating the existing electrical outlets into the built-ins themselves. Since some of the original outlets would end up hidden behind cabinetry, remodel boxes and extensions were installed so the outlets remained fully functional and accessible within the finished cabinets instead of simply being covered up.
A lot of time during installation goes into details that disappear once the project is finished — scribing filler strips to uneven walls, dialing in reveals, adjusting doors, aligning hardware, and making sure long lines stay visually straight across the entire wall.
The Finished Result
What started as a large blank wall became a fully integrated built-in system designed specifically for the way the room is actually used day-to-day.
This project ended up being a bit of a marathon. Between career changes, floods, broken bones, scheduling challenges, and everything else life likes to throw into the mix, it took longer than originally expected to reach the finish line. Through all of it, the clients were incredibly patient, great to work with, and trusted the process from beginning to end.
I’m really proud of how this one turned out and grateful to everybody who helped bring it together.
Big shoutout to Cody and Lukas, couldn’t have done it without you guys.
See you on the next one.


REMINDER TO WEAR YOUR SAFETY GLASSES!
For the record, this didn’t happen while doing anything cool.
I was loading tools into the back of the truck and somehow managed to launch a sliver directly into my eyeball.
Ended the night in the ER getting it dug out of my eye because I’m a professional.
Wear your PPE. 24/7 apparently.